Anyone who buys a bunch of Pokemon Cards knows one thing, they will end up with a ton of duplicates! What do we do with those duplicates? Make a 3D Pokemon card! So…I dusted off my boxes of duplicates and scavenged for some cute Pokemon Cards to use.
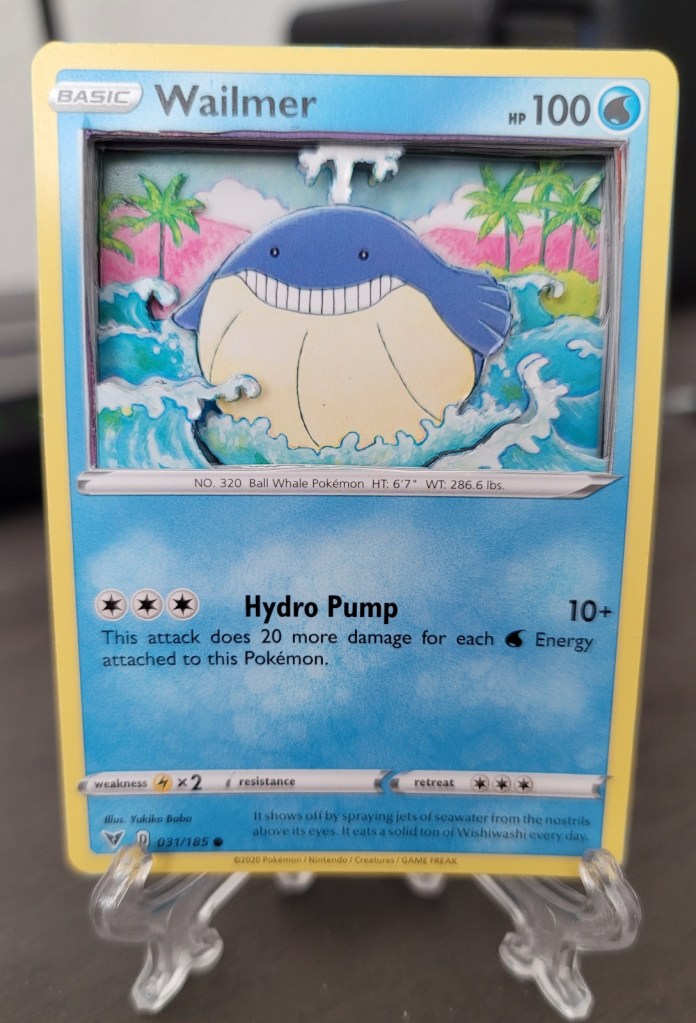
Here is my attempt at creating a Wailmer 3D Pokemon card to display.
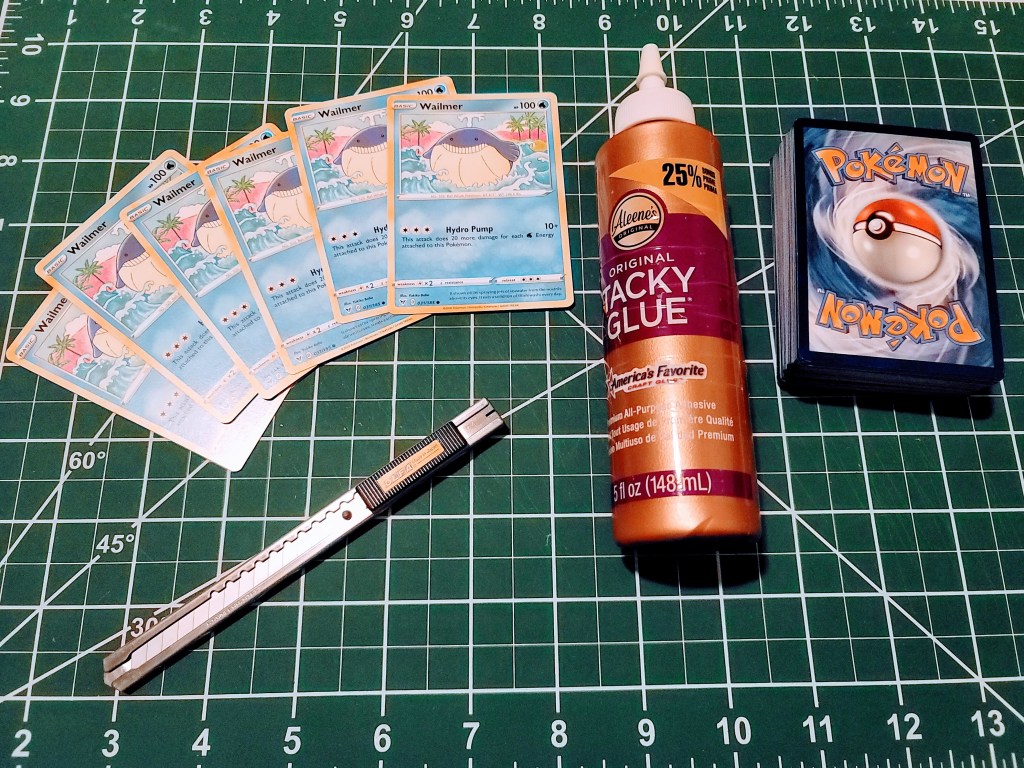
First, you need your materials which includes: duplicates of the main Pokemon card, a box cutter, glue, filler cards such as energies or TCG codes and finally a bit of paint for the detailing.
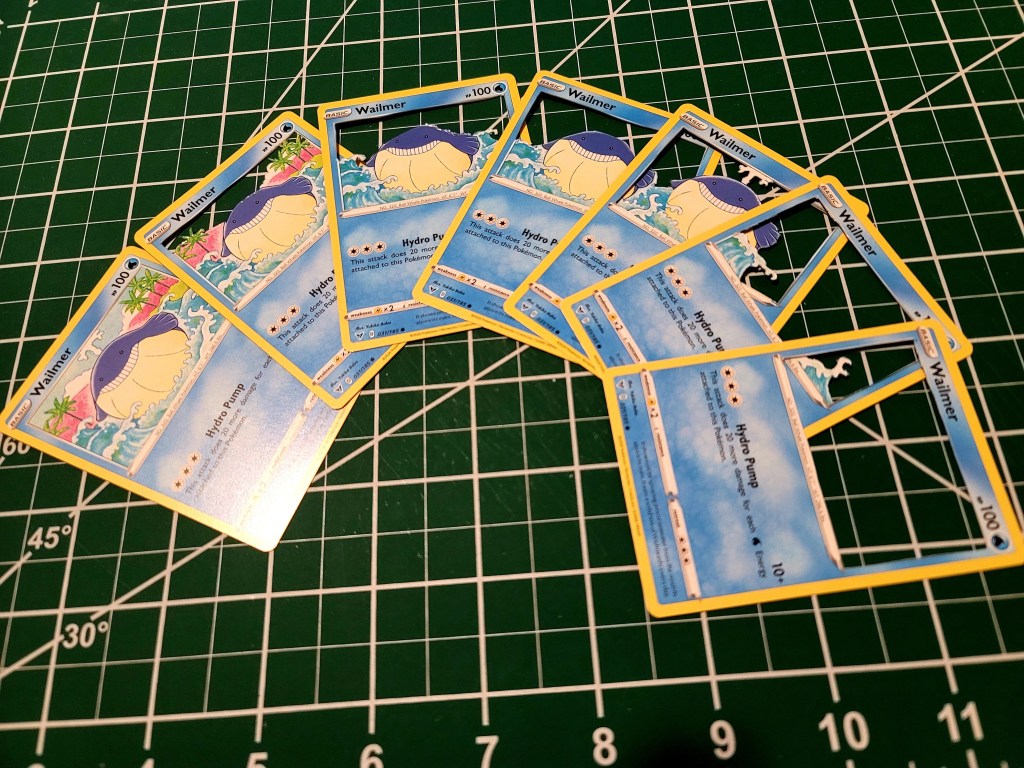
You want to start by mapping out the layers of your 3D piece. Which part of the image do you want to go in front? Which part do you want in the back? Where do you want more depth. Also do not forget to consider one of the duplicates as a background and one for the front piece. Below, I have cut out all of the layers, starting from right to left, front to back!
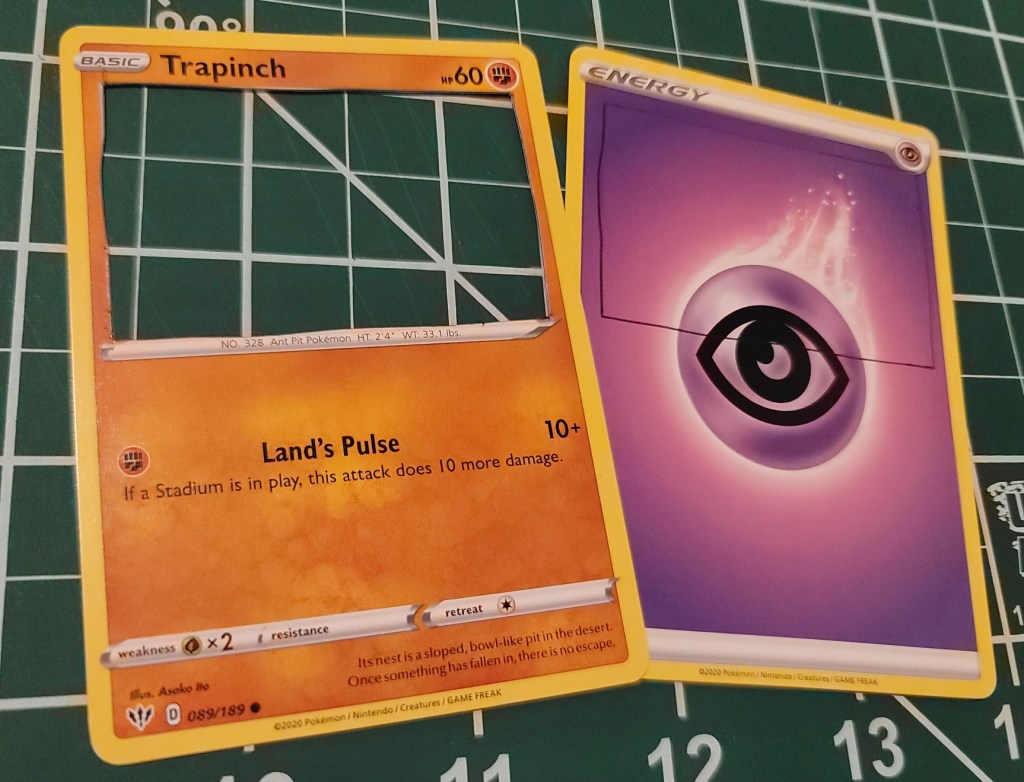
Then, you need to start cutting your filler pieces to create depth. I decided to separate each layer with 3 filler cards with the exception of there being 5 filler cards between the wailmer layer and the front wave layer. I used another Pokemon card as a stencil to draw on the boxes that need to be cut from the filler cards.
Starting from the background layer, glue piece by piece with the filler layer cards in between each layer. Make sure the cards are straight and clean up any glue messes! It will create the cool depth effect.
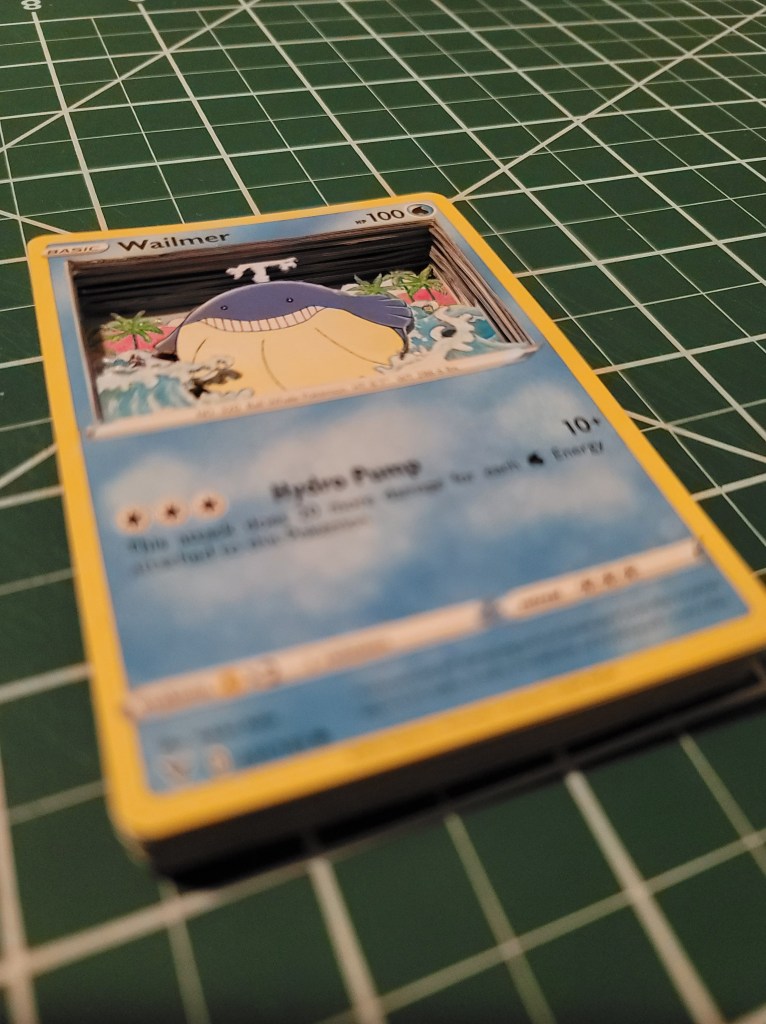
Once I was satisfied and the glue dried, I went ahead and painted the edges of the cards for a finishing touch!
Ta-dah!
